
Cardboard Weaving
Recommended for ages 5+ (with adult help)
Estimated time: 30 minutes
Share your story by creating a woven masterpiece inspired by California-based textile artist, Diedrick Brackens!
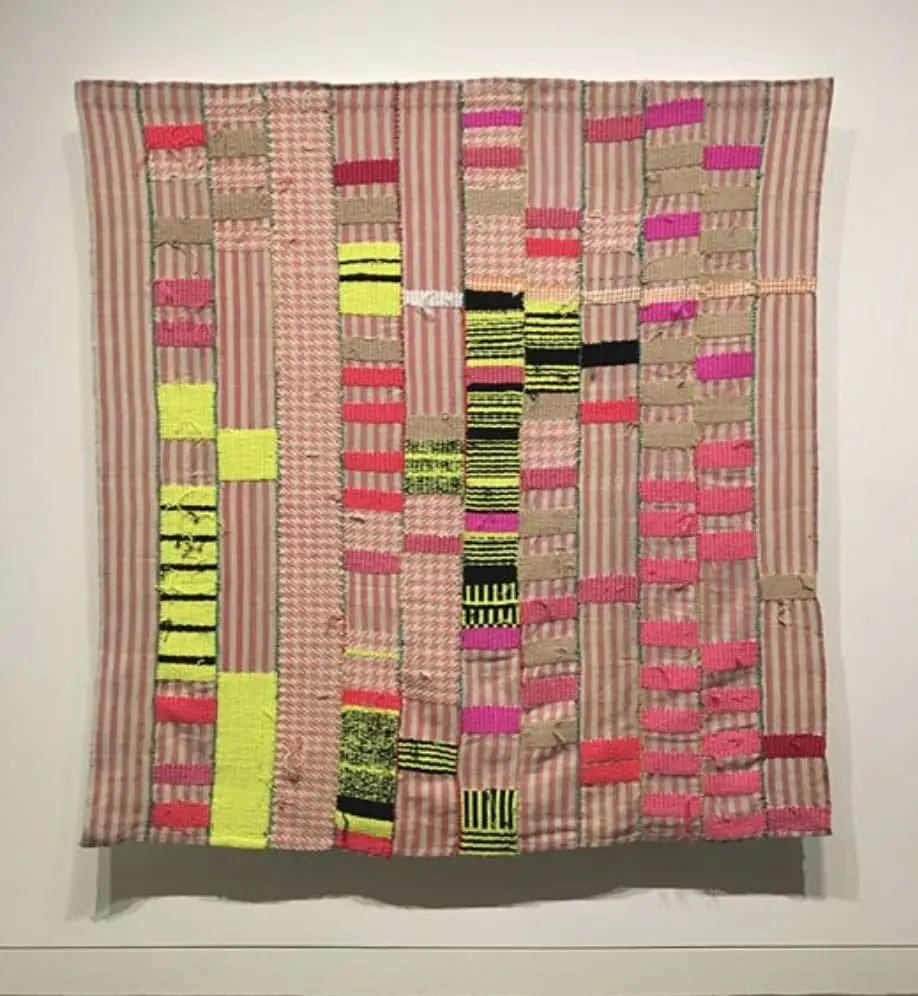
One of the vibrant textiles in OMCA’s Gallery of California Art is a weaving by Diedrick Brackens. Brackens is a Black, queer, Texas-born, and California-based artist who weaves together his identity in his artwork by combining different textile traditions such as European tapestry, strip-woven kente cloth of Ghana, and the quilts of the American South. His weavings show us how textiles can tell stories about ourselves and our histories, and start important conversations around identity and political issues in our community. Hear more from the artist about his work and inspiration in this video and this video. In this activity, you will be inspired by Diedrick Brackens and share your story in your own unique weaving.
This activity challenges you to share who you are through the colors, patterns, and materials you choose for your weaving. Think about what these different things might represent. Yellow yarn might represent happiness or how much you love sunny days. Star-patterned fabric from an old t-shirt might represent your love of space or the stars in the American flag.
Think about…
- What is your heritage? How do you share your heritage with others?
- What colors, patterns, or materials would you like to use to represent yourself? How about your family, community or culture?
- What yarn, fabric, or other textiles could you use at home? These could be items like clothing, flags or banners, carpets, or even sports jerseys. What colors, textures, and patterns do you notice?
Once you have done some thinking, it’s time to start weaving. While Diedrick Brackens uses a large wooden loom to create his weavings, you can create your own using simple materials like cardboard, scissors, fabric strips, and yarn!
Make your own cardboard weaving art
Materials
- Cardboard
- Yarn in different colors
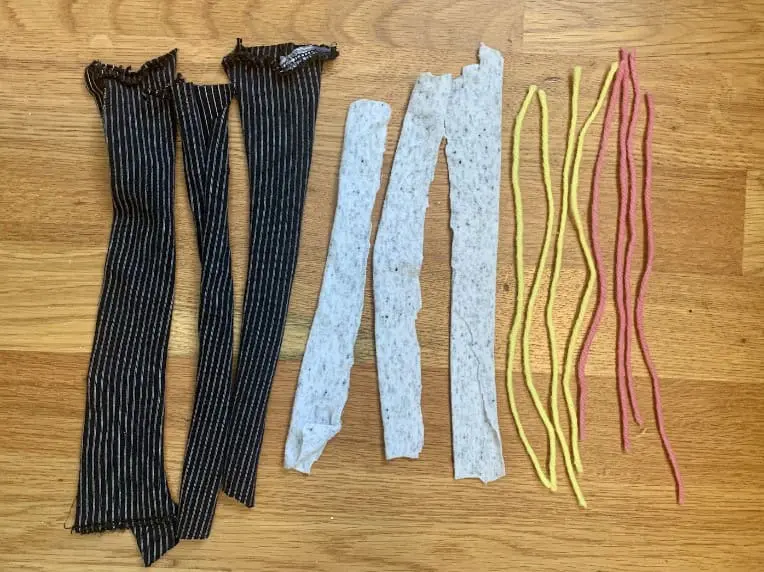
- Pieces of fabric that help tell your story
- Scissors
- Ruler
- Tape
- Markers

Steps
Make the loom:
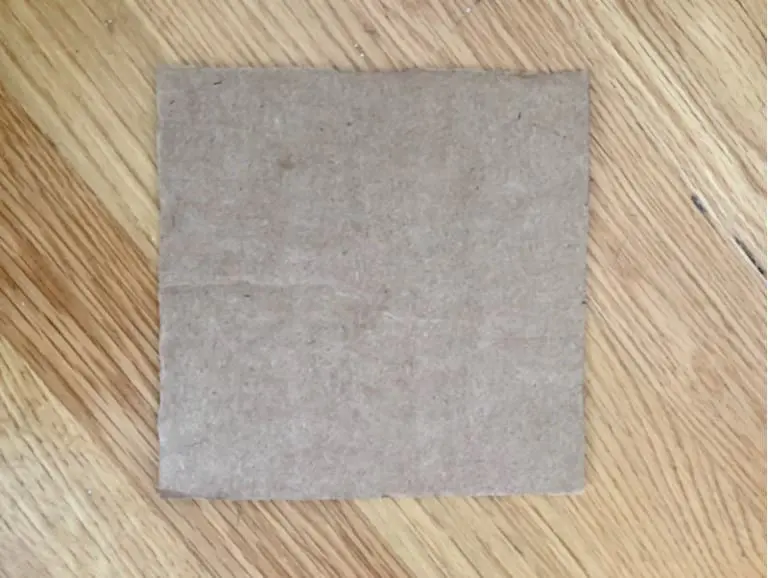
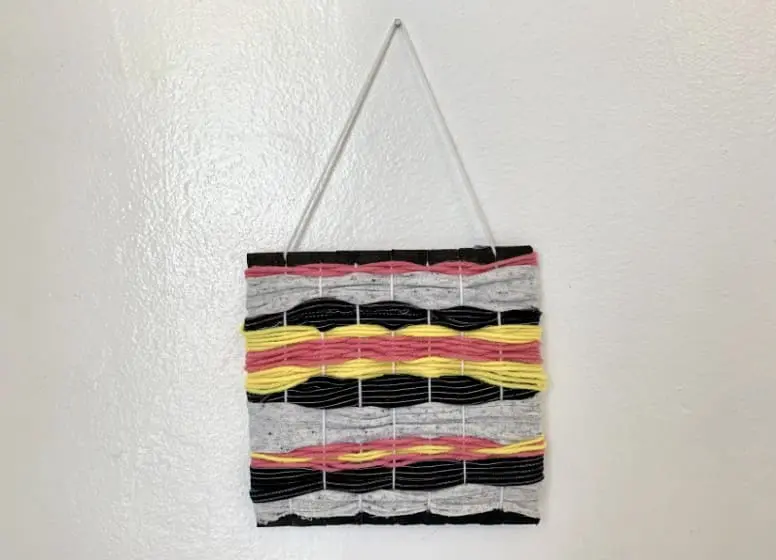
1. Cut out a piece of cardboard. We used a 6 inch x 6 inch square. This is your loom.
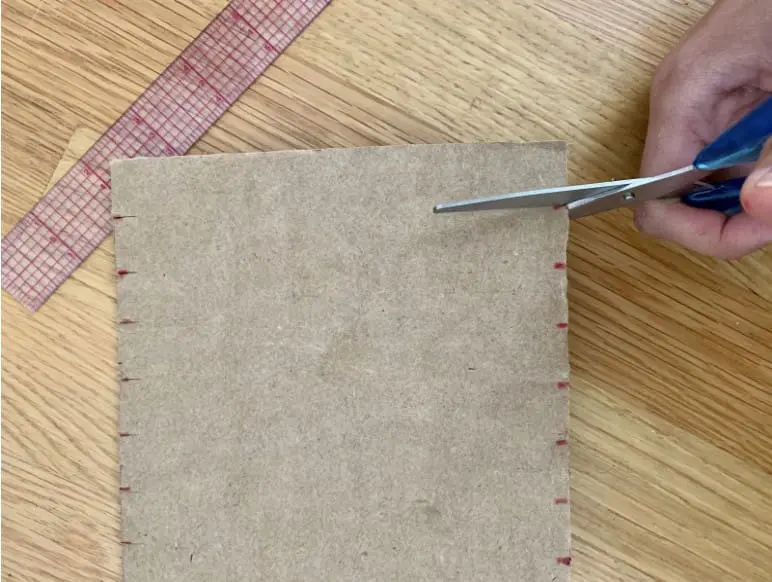
2. Cut small notches on the top and bottom sides of your loom. We made our notches 3/4 inches apart using a ruler.
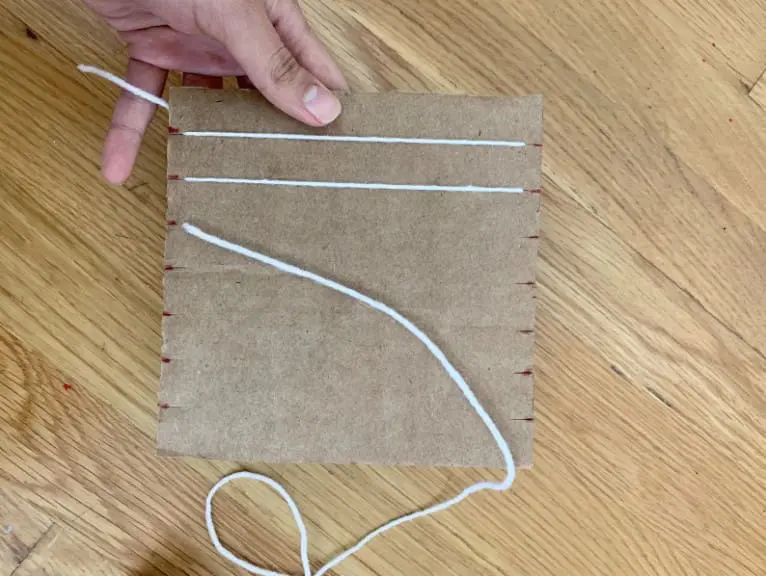
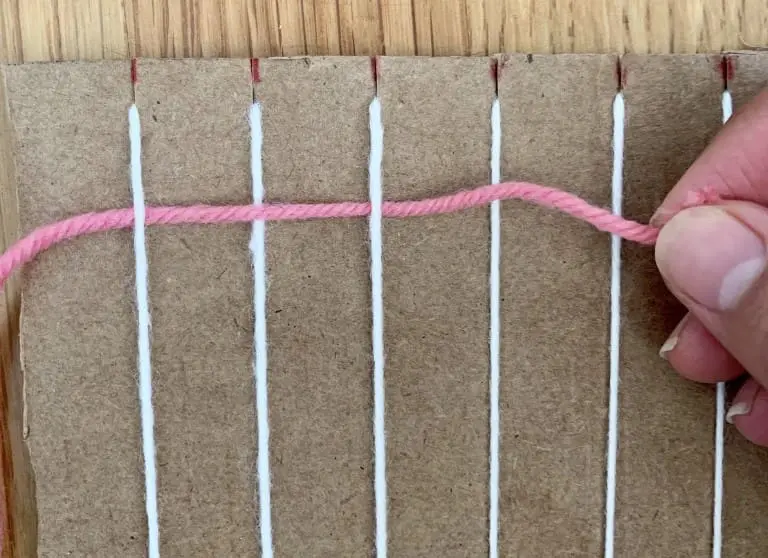
3. Use a long piece of yarn to thread each notch from top to bottom, making sure to keep the thread tight and leave the tails on the back of the cardboard. Tape these ends to the back side of the cardboard. This is your warp!
Weave
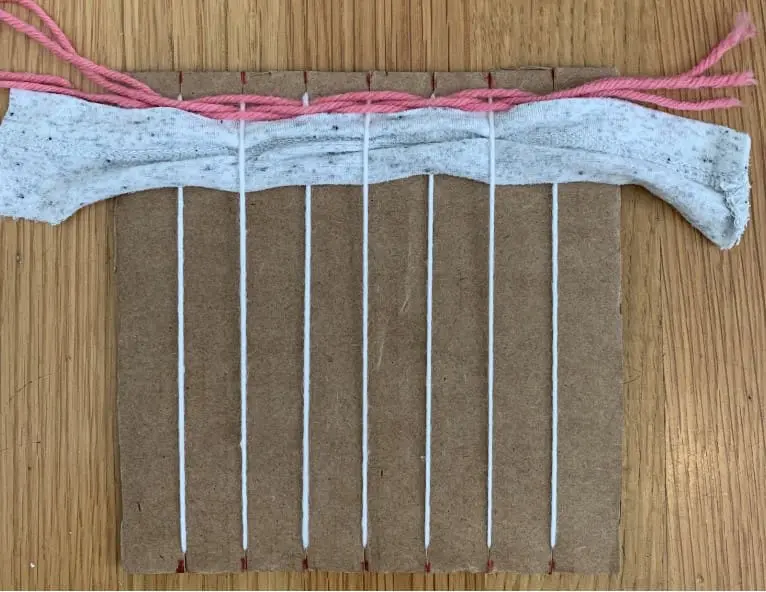
1. Cut several pieces of yarn and fabric scraps about 2 inches longer than the width of your loom.
2. Move the yarn pieces and fabric scraps over and under the warp one at a time. This part of your weaving is called the weft.

3. Make sure to push up your yarn and fabric pieces as you go. Keep going until you get to the bottom. Once you’re done, tape the edges of the yarn and fabric pieces to the back of your loom.
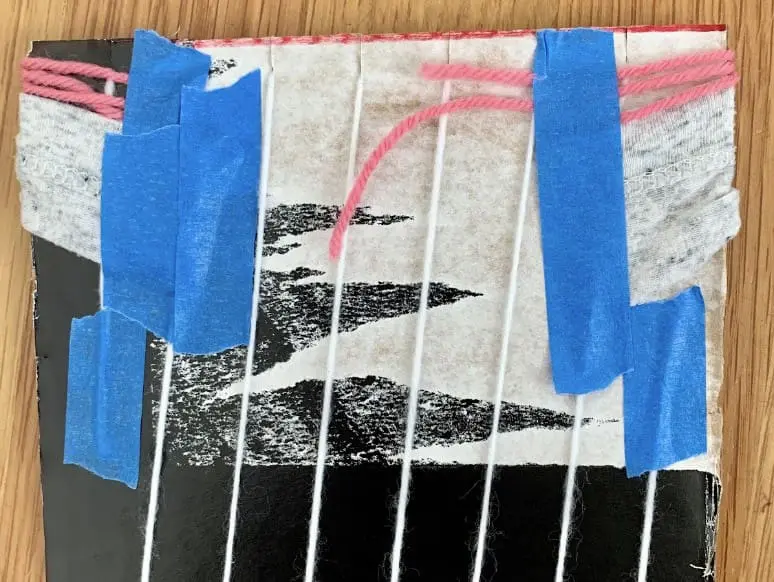
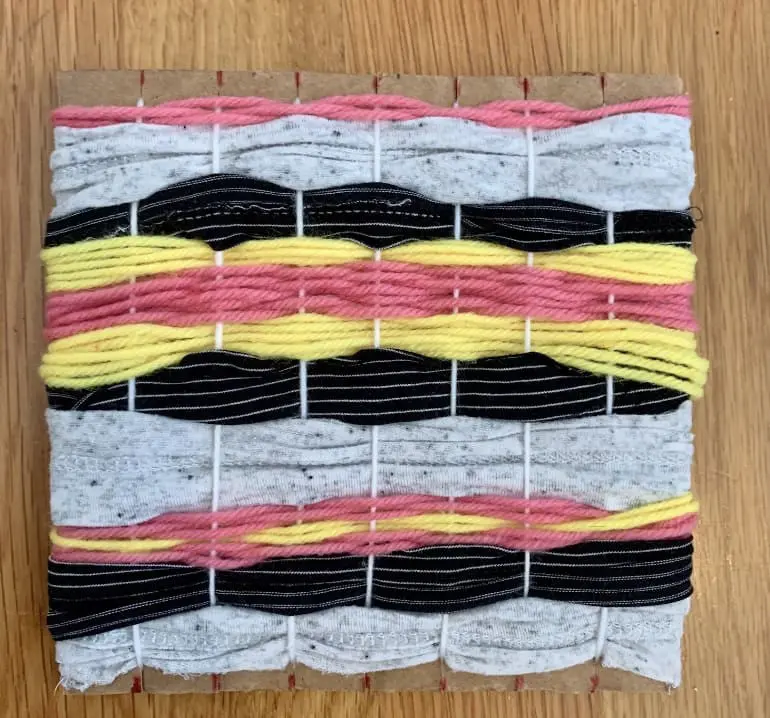
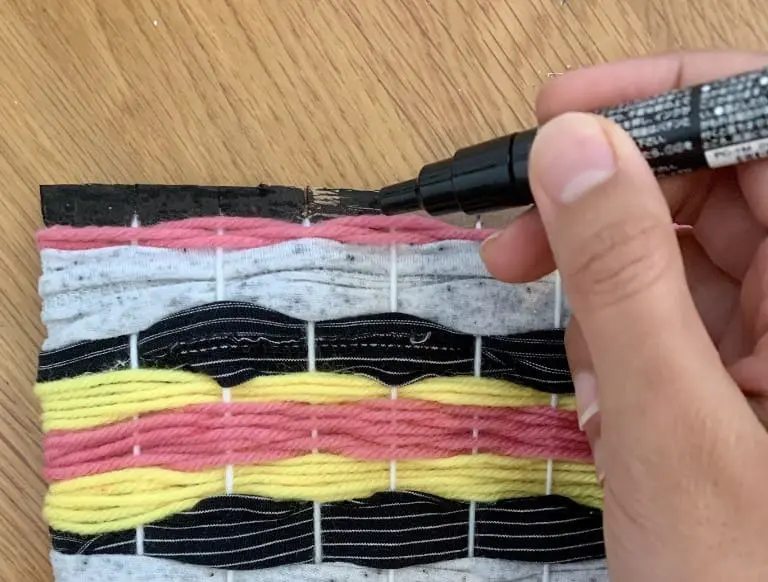
4. If you’d like, color in the cardboard on the top and bottom of your loom.
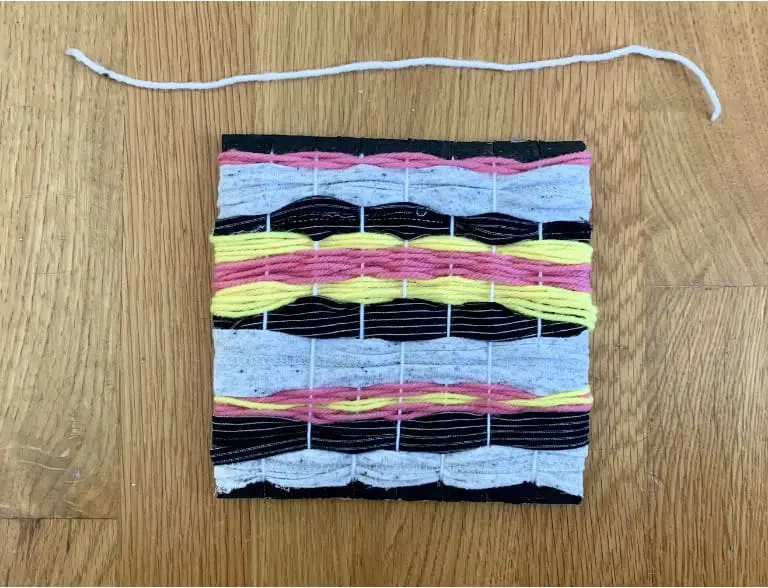
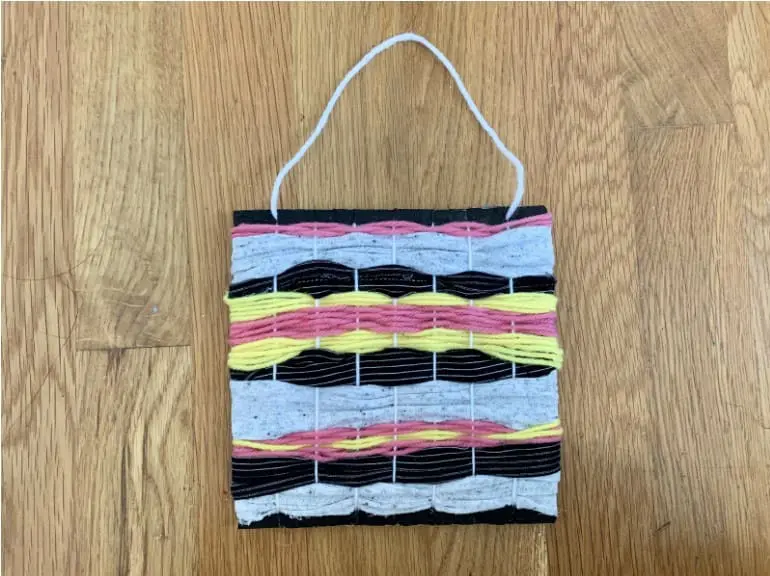
5. Create a hanger by tying or taping a piece of yarn to the back.
Want to make a weaving that comes off the loom?
- Rather than taping your fabric and yarn strands to the back of your loom, knot the ends on either side.
- Once you’ve finished weaving, carefully cut the warp threads from the back of the loom.
- Tie the loose top threads to each other, or to a dowel or twig.
- Knot the loose bottom threads together two at a time.
- Add your hanger thread
- Lastly, cut off or tuck in any access thread and put your weaving on display!
Take a photo of your weaving! Use #OMCA to share it with us, and see what others have created.